* Folding over a slice of pizza like New York style is easier with a larger slice of pizza. The 14" crust will fold over easier than the 10", but if you cut the 10" into four larger slices, it will fold right over.
When we decided to make this pizza crust, we didn't just want to be another "good for gluten free" crust on the market. It needed to be something different, something few other gluten free crusts could do. We think we exceeded our expectations! The crust is flexible, yet sturdy. The bottom is fully cooked and not underdone, while still being soft enough to fold. You will not have to cook it directly on the rack. It's thin under the sauce and toppings but has a good rim of crust to enjoy the great flavor at the end of your slice. It even tastes good on the reheat. We know how hard it is for gluten free food to compare to the original, but man is this good! Make sure you have your non-gluten free friends and family compare it to the original. We think it holds its own against plenty of wheat-based crusts. Let it take you back to the days when you could enjoy really good pizza.
The crust comes in two sizes: 14" and 10". We call the bigger one "the 14er", like the 14,000+ ft Crestone mountains the bakery is named after.
Everyone likes their pizza a certain way. You may prefer to adapt our recommendations to suit your tastes.
It's also important to understand that ovens cook differently, even when set to the same temperature.
We recommend baking in the lower part of the oven, and not on a convection setting.
Most ovens have heating elements at the top which can burn the crust and toppings, and the convection setting may cause uneven browning.
The following directions are general guidlelines. Please find the combination of steps that work best for you.
We leaned more towards a lower temperature and just enough time to bake the pizza.
You can always bake it hotter and/or longer to your liking.
The following are step-by-step instructions for creating a traditional pizza with sauce, cheese and toppings. Feel free to modify this process to suit your needs.
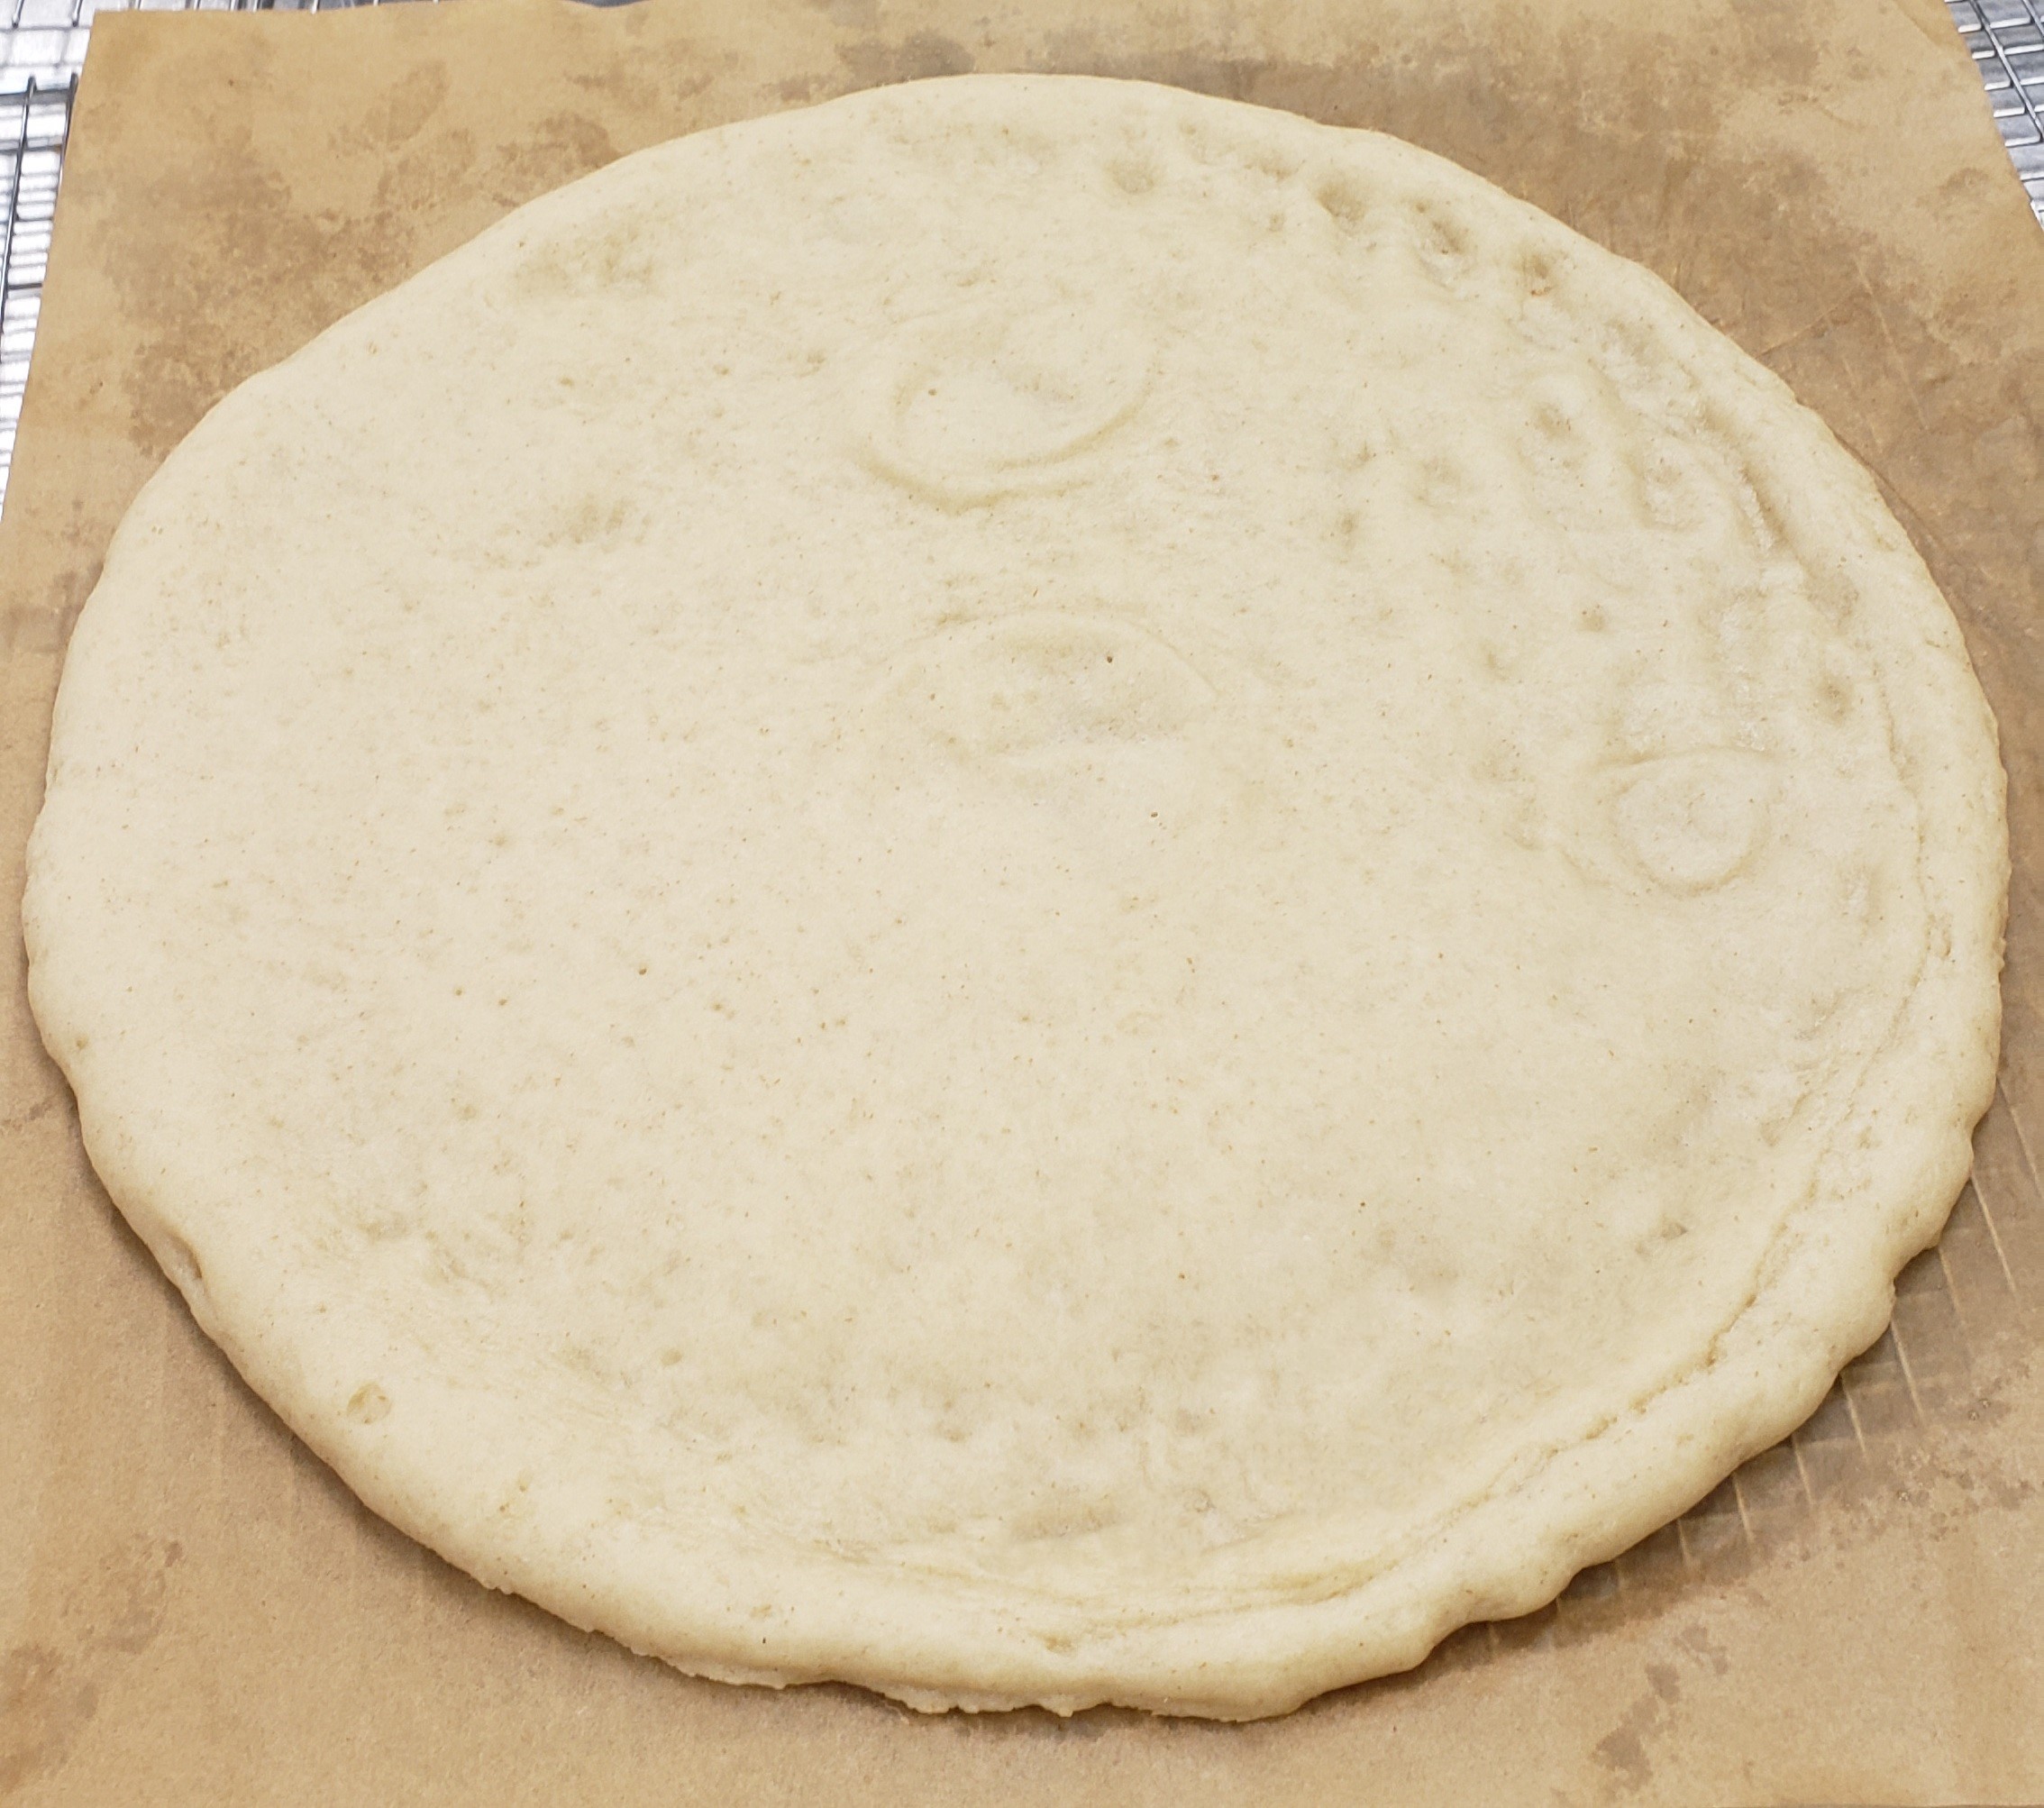
Remove pizza crust from package and recycle the cardboard. Place pizza on baking sheet big enough for crust.

Spread the sauce onto the crust leaving about an inch of crust around the edge.
Don't add too much sauce, as it may cause the cheese to slide off the pizza.
It helps to spread the sauce in circles, thinner in spots, so some of the cheese sticks directly to the crust.
This is the sauce recipe we use.

Spread shredded mozzarella (or your favorite dairy-free alternative) over the sauce.
You don't need to completely cover the sauce. You should be able to see some sauce through the cheese.
When the cheese melts, it will fill in the holes. Unless, of course, you want extra cheese. ;)

Add your favorite toppings and perhaps a little topper cheddar cheese.

Bake in the oven on a lower rack. If you add a lot of toppings, you'll need to bake it longer. Please note: some veggies have a high water content and can make the pizza wetter.
We recommend a baking sheet or pizza stone. A pizza screen can be used, but may produce a tougher crust.
We used a pizza stone on the one in the photo.

Allow the pizza to cool for a few minutes before slicing. Mmmm!!
